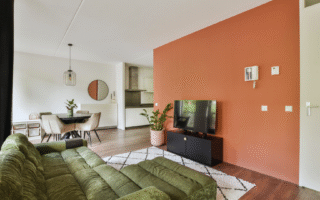
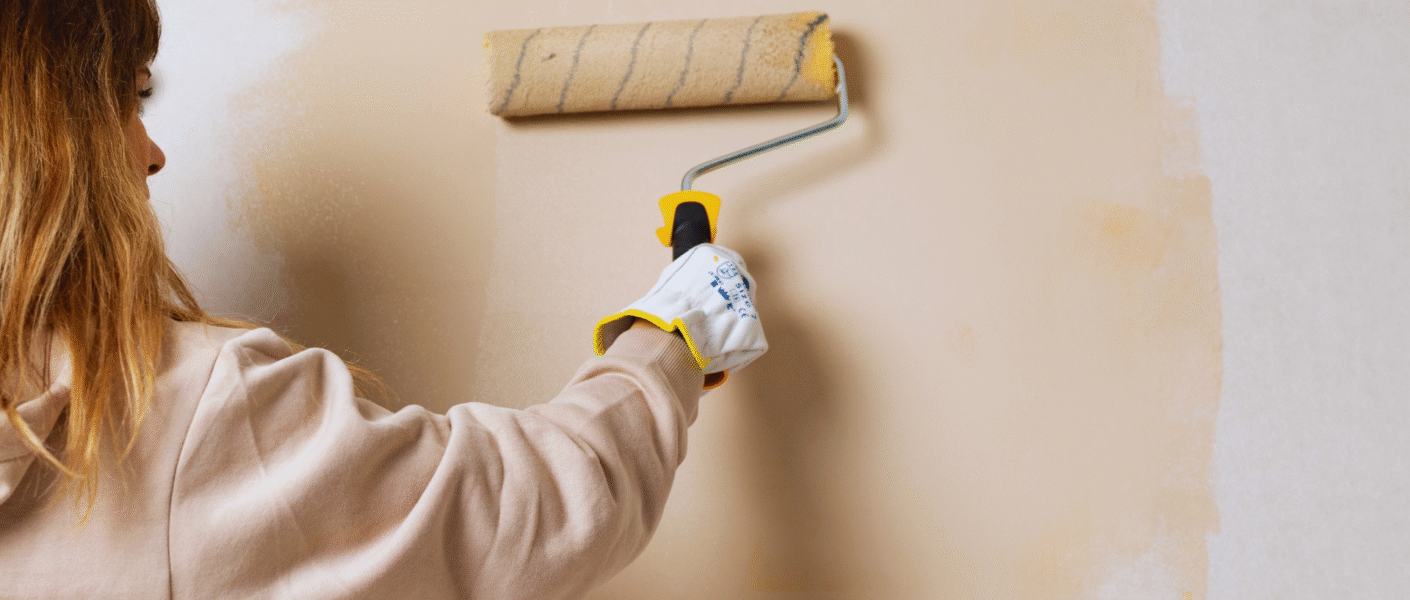
Painting walls can transform a room, providing a fresh look and atmosphere. To paint your walls like a professional, the key steps include meticulous preparation, choosing the right tools and techniques, and applying paint with precision. With the right approach, anyone can achieve a flawless finish that rivals the work of seasoned decorators.
Choosing high-quality paint and the right brushes or rollers can make all the difference in the outcome. It is also essential to properly prepare the surface, which includes cleaning, patching up holes, and applying primer when necessary. This groundwork sets the stage for a smooth application and long-lasting results.
Understanding the proper techniques for cutting in and rolling out paint will enhance the overall finish. By taking the time to learn these methods, individuals can achieve professional-quality results in their own homes. This blog post will detail these strategies and provide tips that will lead to impressive transformations.
Essential Preparation for Professional Results
Proper preparation is crucial for achieving a professional finish when painting walls. This involves gathering the right tools, protecting surfaces, and addressing any wall imperfections before applying paint.
Gathering the Right Tools and Materials
To get started, collect essential tools and materials. A quality paint roller and brush are vital for ensuring even application. The roller should have a medium nap for most walls, while brushes are necessary for corners and edges.
Additionally, select the right paint based on the desired finish, such as matte or satin. Other important items include:
- Drop cloths: Protect floors and furniture from paint splatter.
- Masking tape: Provide clean lines on trims and windows.
A cleaning agent like sugar soap is important for prepping surfaces by removing grease or grime. Having all tools ready simplifies the painting process and saves time.
Protecting Surfaces and Furniture
Before painting, it’s essential to protect surrounding surfaces and furniture. Move furniture away from the walls as much as possible, placing it in the centre of the room or outside if feasible.
Cover the floor with drop cloths to absorb any spilled paint. Use masking tape to shield baseboards, window frames, and door trims, ensuring sharp lines on finished edges. It’s advisable to press down on the tape firmly to prevent paint bleeding underneath.
Using a combination of sheets and blankets can offer additional protection for delicate items, ensuring the workspace remains tidy.
Repairing Walls and Surface Imperfections
Inspect walls for any imperfections, as these can affect the paint’s appearance. Small holes, dents, or cracks should be filled with a suitable filler. After applying the filler, allow it to dry completely and sand it smooth for a seamless finish.
For more extensive repairs, consider using a patching compound to ensure an even surface.
Clean the walls with sugar soap to remove dust and stains, providing a clean base for paint adhesion. If walls are particularly dirty, a thorough wash will yield better results. Properly prepared surfaces enhance the final look and longevity of the paint job.
Step-by-Step Guide to Painting Your Walls
A successful wall painting project requires both technique and tools. Focus is essential on achieving crisp edges, smooth coverage, and perfecting brushwork.
Cutting In for Crisp Edges
Cutting in is the technique used to create clean lines where the wall meets the ceiling, corners, or trims. This task is typically done before using a roller to ensure neatness.
- Select the Right Tools: Use a high-quality paintbrush, typically 2.5–3 inches, and painter’s tape if needed for extra precision.
- Prepare the Area: Start by securing edges with painter’s tape to avoid overflow onto adjacent surfaces.
- Technique: Load the brush with paint and remove excess. Begin at the corner or edge, using smooth strokes to create a line. Maintain a steady hand for even coverage.
Cutting in effectively sets the foundation for a professional finish.
Using Rollers for Smooth Coverage
For large areas, a roller is indispensable due to its efficiency and speed. Choosing the right roller and technique can make a substantial difference.
- Select Roller Frame and Cover: Use a roller frame with an extension pole for hard-to-reach areas. The texture of the roller cover should match the wall surface—smooth for flat surfaces and a thicker nap for textured surfaces.
- Loading the Roller: Dip the roller into the paint tray and roll it back and forth to ensure even coverage without excess paint running.
- Application Technique: Start rolling in a ‘W’ or ‘M’ pattern to avoid streaks, then fill in gaps with straight strokes. This method helps achieve an even coat while keeping the paint fresh and workable.
Rollers allow for quick application and reduce visible brush marks.
Perfecting Technique with Paintbrushes
Using paintbrushes effectively enhances detailing and touch-ups throughout the painting process. Understanding how to handle brushes is crucial.
- Choosing the Right Brush: Select a brush that aligns with the type of paint—synthetic bristles for water-based and natural bristles for oil-based paints.
- Loading the Brush: Dip just the tip of the brush into paint. Remove excess to improve control and avoid drips.
- Painting Technique: Use short, controlled strokes to spread paint evenly. For corners, use a smaller brush to navigate tight spaces, ensuring all areas are well covered without overflow.
Mastering brush technique complements the roller work and enhances the overall finish.
Achieving a Long-Lasting and Professional Finish
To create a durable and polished look for walls, attention to detail in coating application and colour consistency is essential. The following guidelines will focus on applying multiple coats and ensuring an even finish.
Applying Multiple Coats Effectively
Applying multiple coats is fundamental for a professional result. The first step is choosing the right paint. High-quality, durable paint often provides better coverage.
Before beginning, the surface should be clean and free from dust. A primer is recommended, especially on new or porous surfaces, as it enhances adhesion.
When applying the first coat, use a roller for large areas. Follow up with a brush for corners and edges. Allow sufficient drying time between coats—typically 2 to 4 hours, depending on the paint type.
For the best results, apply at least two coats. Thin, even coats prevent runs and drips. Ensure that the second coat is applied in the opposite direction to the first for uniform coverage.
Ensuring Even Colour and Texture
Achieving even colour and texture is crucial for aesthetics. Begin by mixing the paint thoroughly to avoid colour discrepancies.
Using multiple cans of the same paint? Blend them together in a larger bucket to maintain consistency across the walls.
When painting, maintain a wet edge. This involves overlapping freshly painted areas with a wet brush or roller to prevent marks and stripes.
The type of roller used can affect the final texture. A medium-nap roller works well on most surfaces, providing a smooth finish. For a more textured look, a thicker nap roller may be appropriate.
Regularly step back to assess the walls. This allows for adjustments as needed, ensuring even coverage throughout the painting project.
Aftercare and Enhancing Home Décor
Proper aftercare is essential for maintaining the appearance of newly painted walls. Additionally, thoughtful enhancements to home décor can elevate the overall aesthetic. This section outlines necessary cleaning practices and tips for preserving splendour in painted interiors.
Cleaning Up After Painting
Immediately after painting, it is crucial to clean brushes and rollers. Use warm, soapy water for latex paints and paint thinner for oil-based options. Thoroughly rinse until all paint residues are removed to prolong the life of tools.
Protect surfaces by covering furniture and floors during painting. After the job, remove any spills or splatter promptly. A damp cloth can often lift minor marks. For fresh paint, avoid excessive scrubbing; a soft, dry cloth is preferable.
Dispose of leftover paint responsibly. Many local councils provide recycling options, which ensure environmental safety. Keep empty or unused containers tightly sealed and stored in a cool place for future touch-ups.
Tips for Maintaining Freshly Painted Walls
To maintain freshly painted walls, regular cleaning can help preserve their appearance. Use a soft sponge or a microfiber cloth with warm water and mild detergent. For stubborn stains, a non-abrasive cleaner may be necessary.
Consider applying a protective coat of sealant after the paint has fully cured. This can enhance durability, especially in high-traffic areas or spaces prone to moisture.
Additionally, seasonal checks will help identify wear. Touch up any chips or scratches quickly to maintain a flawless look. Decorative items such as art or framed photos should be repositioned carefully to avoid damaging the paint.
Incorporating plants or wall hangings can further enhance the décor, adding colour and texture to the room while complementing the new paint.