
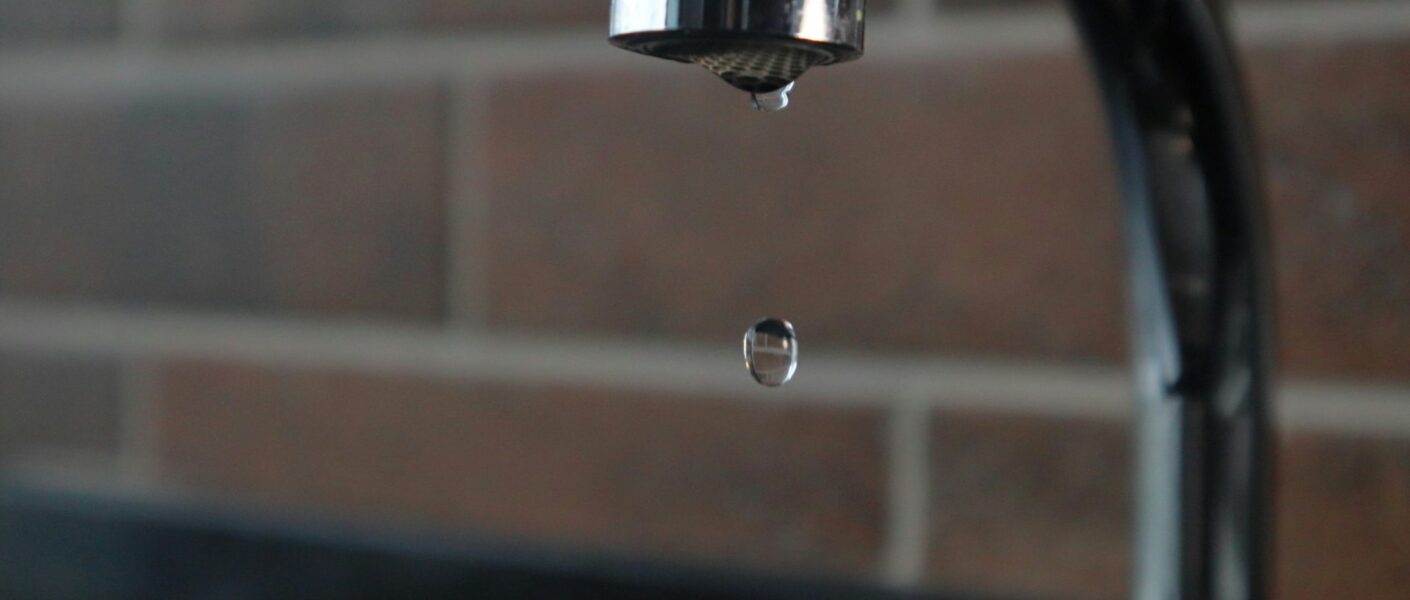
A dripping tap can drive anyone up the wall. The slow, repetitive sound is irritating, sure, but it’s also a sign that something’s not quite right. Most people assume the washer is the culprit, and while that’s sometimes true, it’s far from the whole story.
If you’ve replaced the washer and the tap’s still leaking, you’re not imagining things. The problem often goes deeper than that tiny rubber ring.
First, What Actually Causes a Leak?
Taps (or faucets, if you prefer) are pretty straightforward in theory. Turn the handle, water flows. Turn it back, water stops. But the mechanics behind that simple action involve several small parts working together. When even one part wears out or gets damaged, you start to notice issues, like that drip that never seems to quit.
Sure, the washer might be worn. But leaks can also be caused by:
- Damaged valve seat – This is the connection between the tap and the spout. If it becomes corroded or pitted over time, water can sneak through even with a brand-new washer in place.
- Loose or worn O-ring – These small rubber rings seal parts inside the tap body. If they’re degraded or not sitting properly, they can allow water to leak from the handle or base.
- Faulty cartridge or ceramic disc – Modern mixer taps often use cartridges or ceramic discs instead of washers. These can wear down, crack, or become blocked by sediment.
- Corrosion or mineral build-up – Hard water can leave deposits inside the tap, making it harder for the components to seal properly.
If you’ve already changed the washer and it’s still leaking, odds are you’re dealing with one of these other issues.
Stop Replacing the Washer and Start Looking at the Bigger Picture
It’s tempting to keep popping in a new washer every time the drip returns. It’s cheap, it feels productive, and for a while, it might even stop the leak. But if the valve seat is damaged, that fresh washer will wear down quickly. The same goes for a misaligned tap spindle or an O-ring that’s perished. A quick fix doesn’t work if the core issue hasn’t been resolved.
That’s why proper leaking tap repairs go beyond just swapping out washers. They involve checking the whole mechanism — inspecting the seat, replacing faulty parts, and making sure everything is aligned and sealed properly. Think of it like putting new tyres on a car with bent wheels. No matter how new the tyres are, the problem will keep coming back until you fix the alignment.
The Hidden Damage of Ignoring the Leak
Even a slow drip can add up over time. You might think it’s just a few extra drops here and there, but a leaking tap can waste thousands of litres of water a year. That’s money quite literally going down the drain.
But water waste isn’t the only concern.
Persistent leaks can also cause:
- Water stains on sinks, benches, and cabinetry
- Damage to plumbing fittings due to ongoing moisture exposure
- Mould or mildew buildup under sinks or around the base of the tap
- Internal corrosion that shortens the life of your plumbing
So if you’re just living with the leak to avoid the hassle, it’s worth reconsidering.
Old Taps vs New Taps – Know What You’re Working With
If you’re dealing with an older tap, it’s more likely to use a washer-and-seat setup. These rely on a rubber washer pressing against a metal valve seat. Over time, both parts wear down, and you get drips even when the tap is tightly closed.
Newer taps often use ceramic discs or cartridges. They’re more durable and can last much longer, but when they fail, you’ll need to replace the whole cartridge, not just a single washer.
A common mistake? Trying to use a washer on a ceramic-disc tap. They’re different systems, and mixing parts won’t work. Always check what type of tap you have before pulling it apart.
How to Actually Fix the Leak (The Right Way)
Let’s say you’re ready to sort this out properly. Here’s what a more complete fix involves:
- Turn off your water supply – Sounds obvious, but it’s often missed.
- Take the tap apart fully – Don’t just remove the handle and swap the washer. You need to inspect the valve seat, the spindle, the O-rings, and everything else inside.
- Clean the valve seat – If it’s rough or corroded, use a valve-seat regrinding tool to smooth it out. This helps the washer sit flush and seal properly.
- Replace worn parts – Washers, O-rings, and sometimes even the entire spindle or cartridge.
- Reassemble carefully – Over-tightening parts can cause damage. Make sure everything sits neatly and is aligned.
- Test it thoroughly – Once the tap is back together, turn the water on slowly and check for leaks at every point — including the base and around the handle.
If it still leaks after all that, the problem might be too far gone for a DIY repair. In that case, a full tap replacement might be your best option.
When to Repair and When to Replace
There’s a point where ongoing repairs just aren’t worth it. If your tap is decades old, corroded, or showing signs of internal damage, replacing it might be easier, cheaper, and more reliable in the long run.
A good rule of thumb? If you’ve already tried fixing it more than twice and it still leaks, replacement is probably the smarter move.
And if you’ve got multiple taps leaking around the house, it could point to a bigger issue with your water pressure or plumbing system. It’s worth getting a professional to take a look if that’s the case.
No More Drip, No More Guesswork
That annoying leak isn’t always just about a washer. Once you understand the full picture, fixing it properly becomes a lot less frustrating. And when you do it right the first time, you’ll spend less time under the sink and more time enjoying a home that actually works the way it should.